GK Install Part 2 – dismantling and assessment

A chance find on Gumtree small ads has landed me a good deal on a Kahler non-tremolo bridge so I can now start dismantling the Strat and looking into the mystery of the Japanese routing and the bizarre System II tremolo system which appears to be entirely undocumented anywhere on the internet.

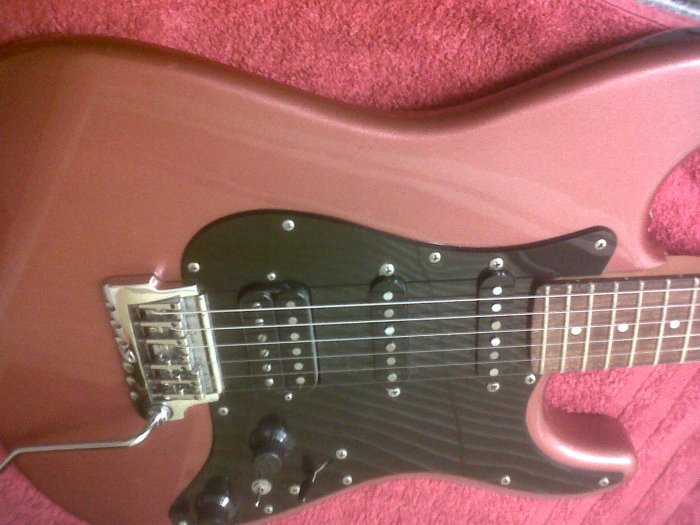
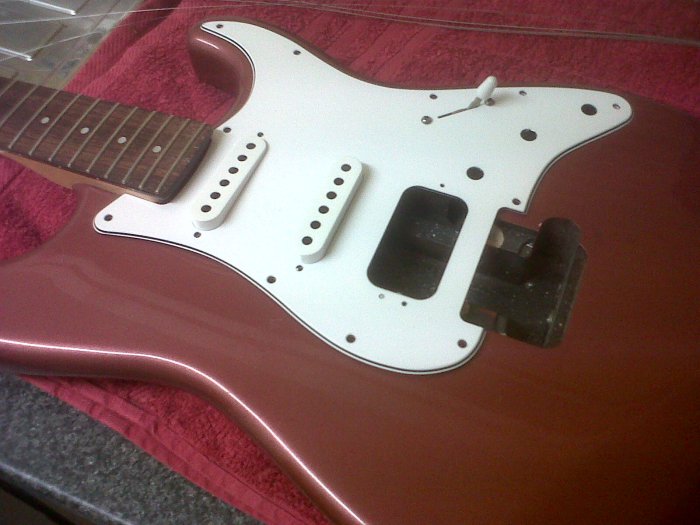
Step 1, neck off, whip off the pickguard and recoil in horror from the cheapo switch and pots. I expect to see those on a Squier, not anything with the hallowed name Fender on the headstock. Add those to the replacement list.

IMG-20150124-00192

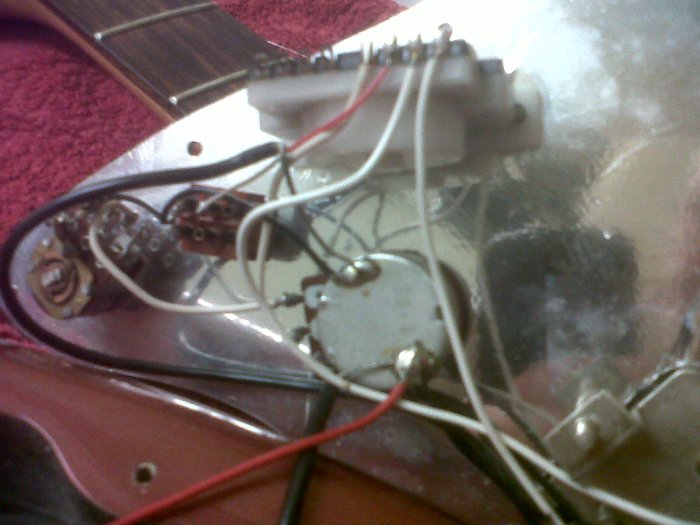
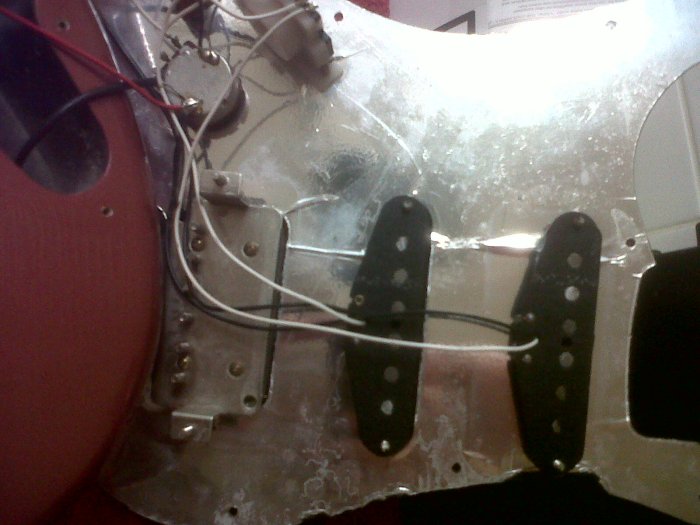
Pickups are decent though. I had an E-series Squier from about the same year and I recall that had badly-made pickups with a bar magnet underneath like a P-90. These have proper magnetised pole pieces which would explain the dramatically better tone compared to the horribly harsh-sounding Squier.

IMG-20150124-00194

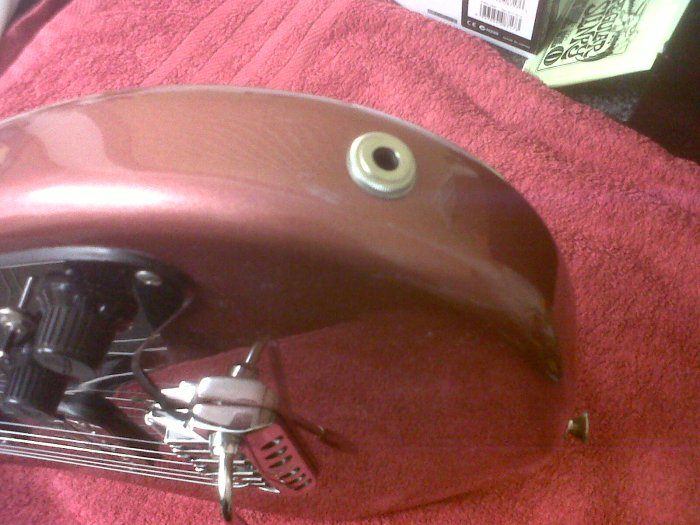
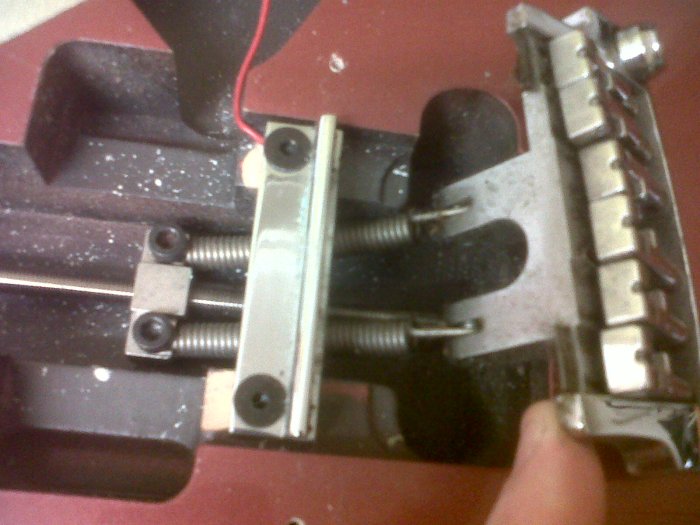
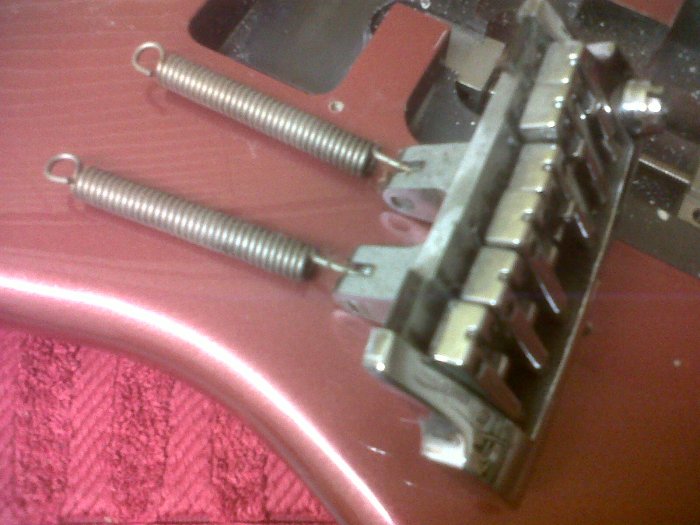
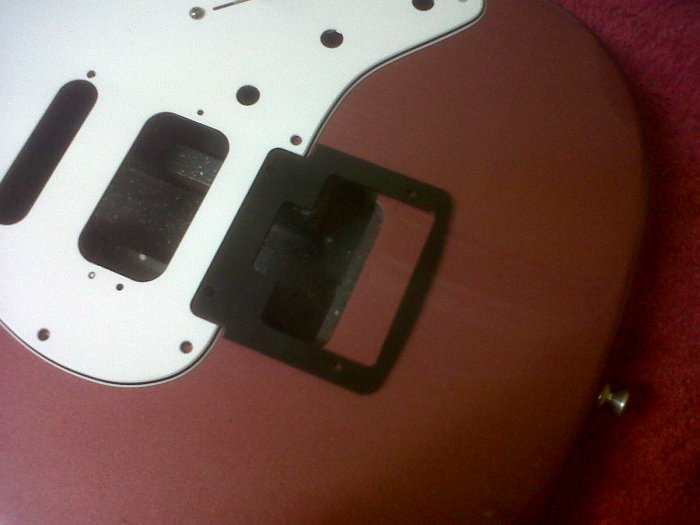
That trem system though … what a strange affair. The bridge has two large springs which pull against a block on a threaded rod. Spring tension is applied by turning a hex bolt near the strap button which moves the block further from the bridge. Here it is in various stages of dismemberment.

IMG-20150124-00191 IMG-20150124-00195 IMG-20150124-00196 IMG-20150124-00197 IMG-20150124-00198 IMG-20150124-00199

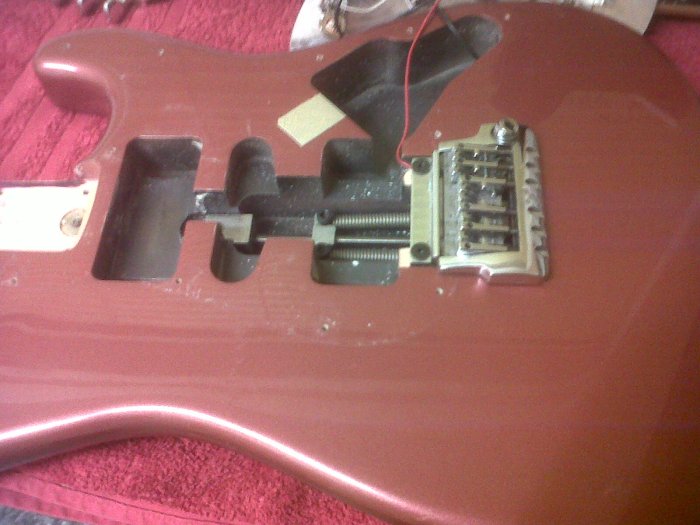
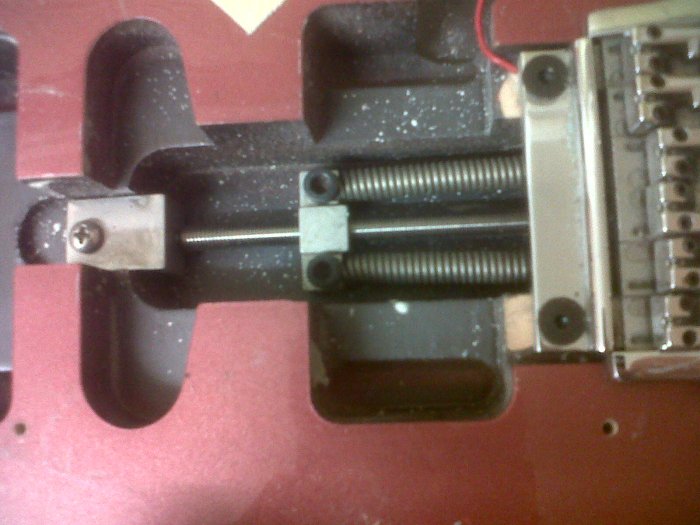
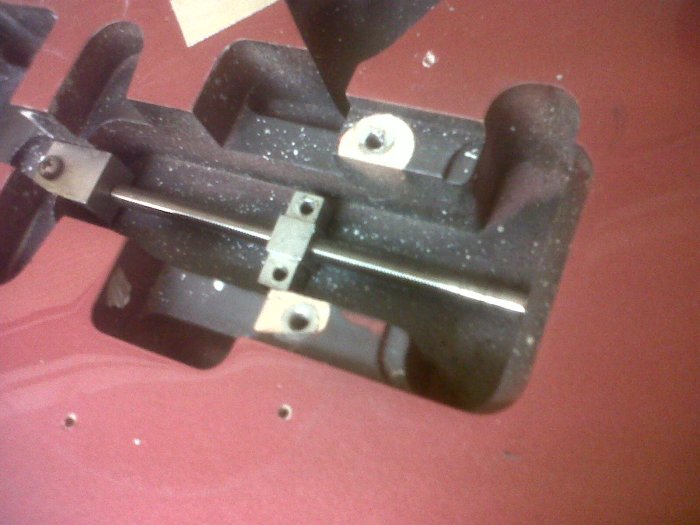
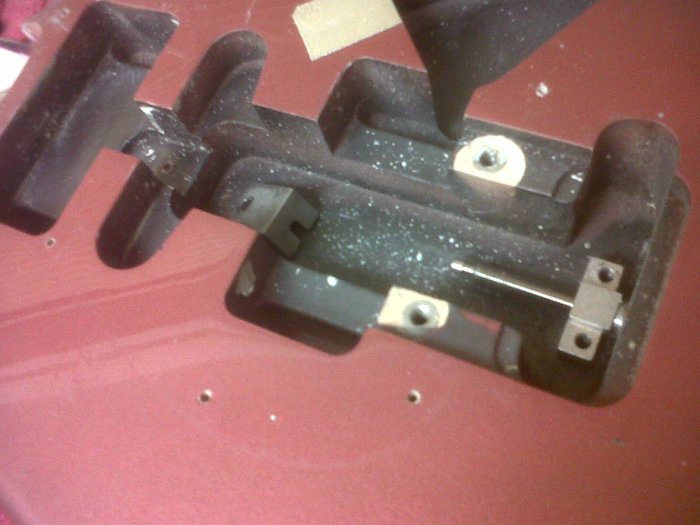
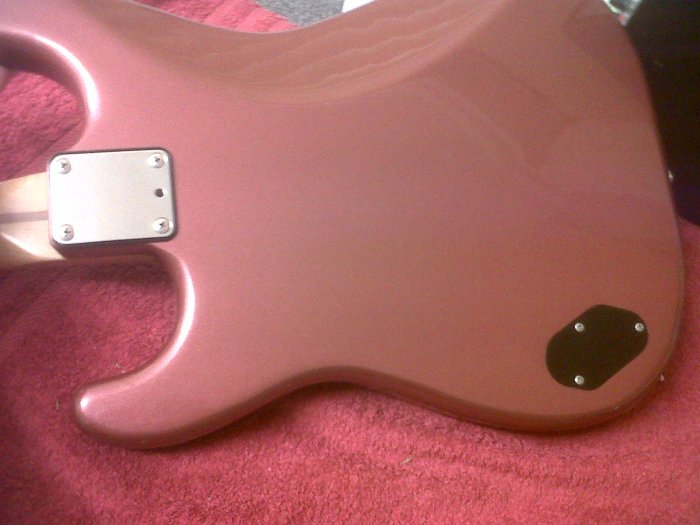
The bridge pivots against a horizontal bar held down with two hex bolts and threaded inserts. Fortunately these inserts don’t look like they will foul the Kahler mounting screws. Looks like we’re in business here. The Kahler routing template seems to indicate that the new bridge should perfectly cover the small amount of excess routing to the rear and side of the old bridge. And damn, it looks so much better with a white pickguard. Another advantage of all that routing is that I’ll have plenty of space to run the GK wiring.

IMG-20150124-00202 IMG-20150124-00203

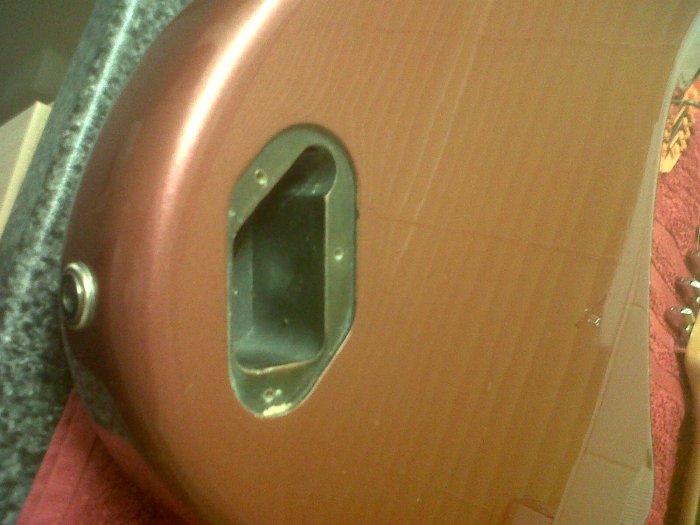
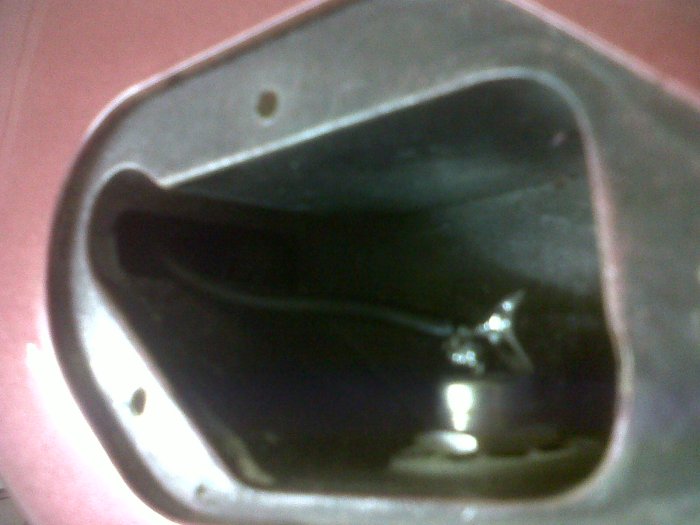
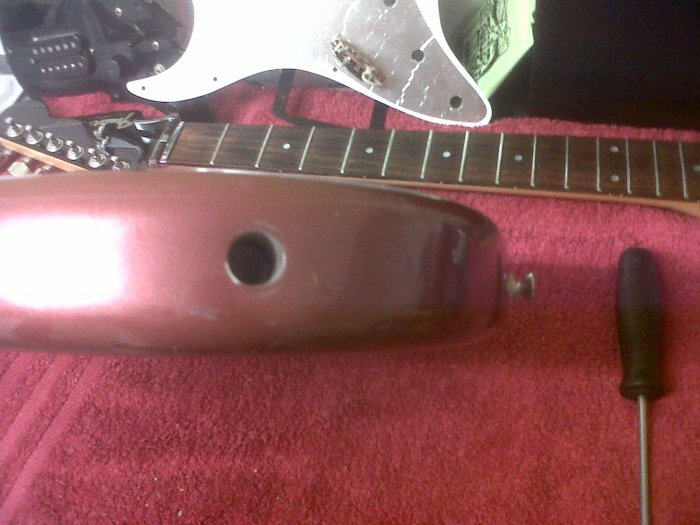
That just leaves the output jack, soon to be repurposed as the 13-pin GK connector. The really good news here is that the hole from the jack cavity to the main body cavity is about quarter of an inch wide by an inch high so I won’t need to widen that at all to fit the Roland multi-way connectors through. Bad news is the jack socket barrel is held in so tightly with a nut and washer that I had to spend 20 minutes with a spanner and pliers getting it out.

IMG-20150124-00200 IMG-20150124-00201IMG-20150124-00207

All of which leads me to think that this is going to be just about the easiest GK Kit install ever. For the moment the guitar will be GK-only with no quarter inch output jack. If I feel the need later I may get the router out and install a Strat plate and jack. To be confirmed at a later date, for now it looks like everything should go fairly smoothly.

GK Install Part 1 – planning stages

And so it begins.

The Roland GK-KIT-GT3 arrived in today’s post, a rather unprepossessing white box stuffed with cheap flimsy electronic parts and an instruction sheet written in badly-translated Japlish. No, my guitar is not powered by a “buttery”. Before we rip the box open and drop a million screws everywhere, it’s time to examine the guitar this is going in and make some sort of appraisal of how work is going to progress. Here it is, my rather lovely if somewhat idiosyncratic 1986-ish Fender Japan Contemporary Stratocaster.

IMG-20150121-00183

Odd-looking beast but it has a wonderfully growly bridge pickup.

IMG-20150121-00189

A little detail about this guitar – it has its faults and part of the GK install will involve some other modifications, not least to the bridge. The guitar uses Fender Japan’s Schaller-designed System II tremolo bridge and while it has great tuning stability it is completely non-standard and an absolute pig to restring so it’s getting replaced with a Kahler top-mounting fixed bridge and this is really where we enter unknown territory with this guitar. I have no idea how it’s routed at the moment, the System II is not routed like a normal Strat so there are no springs in the back of the guitar …

IMG-20150121-00184

… and there’s a hex bolt next to the lower strap button to adjust the return spring tension. Eagle-eyed readers will notice that the output jack is non-standard too, it’s mounted in the same location as a Telecaster jack but it’s a small barrel socket instead of the usual plate you’d expect to see there.

IMG-20150121-00187

So while in some ways it’s a weird guitar, in other ways it should be the ideal instrument for a GK install. The jack socket can easily be opened out for the 13-pin connector and there’s a fairly large cavity around it to accomodate the circuit board. As for the bridge, I’ve obtained a Kahler routing template which looks like this …

7300 routing template

Lining up the template over the trem tells me that there’s plenty of wood under the two rear screws but none directly under the other screws so I will probably end up with just two screws holding the bridge. A bit risky perhaps but certainly better than struggling with the badly-designed System II currently on there.

The only other change will be to fit a white 3-ply pickguard. The original is single ply black and really makes the guitar look like a cheap 1980s Marlin Sidewinder. If you remember those things then you’ll know that it has to go. Warmoth are quoting silly money for shipping and they don’t do two-knob pickguards (why?) so I’ve contacted Jack’s Instrument Services for a quote on a custom one. I don’t use tone controls so it’ll just be magnetic pickup volume and GK volume. The guitar has the incredibly classy F-stamped control knobs so those have to stay! GK up/down switches will be on a single momentary switch next to the pickup selector.

So I know roughly how much work’s involved now and I’ve got a good idea what tools and parts I need to order before work begins. I’m also getting a replacement 50k LIN pot to replace the cheap piece of crap Roland supply with the kit. That can go straight in the bin.